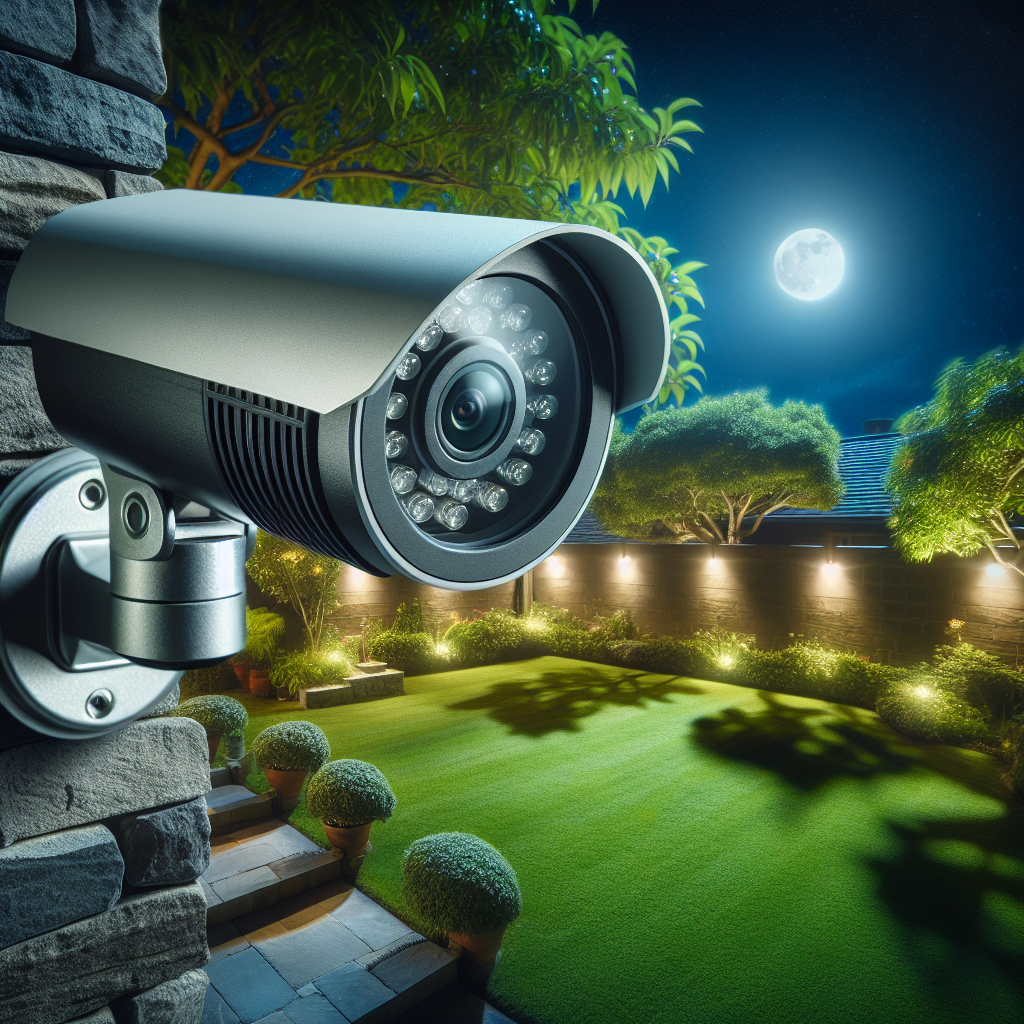
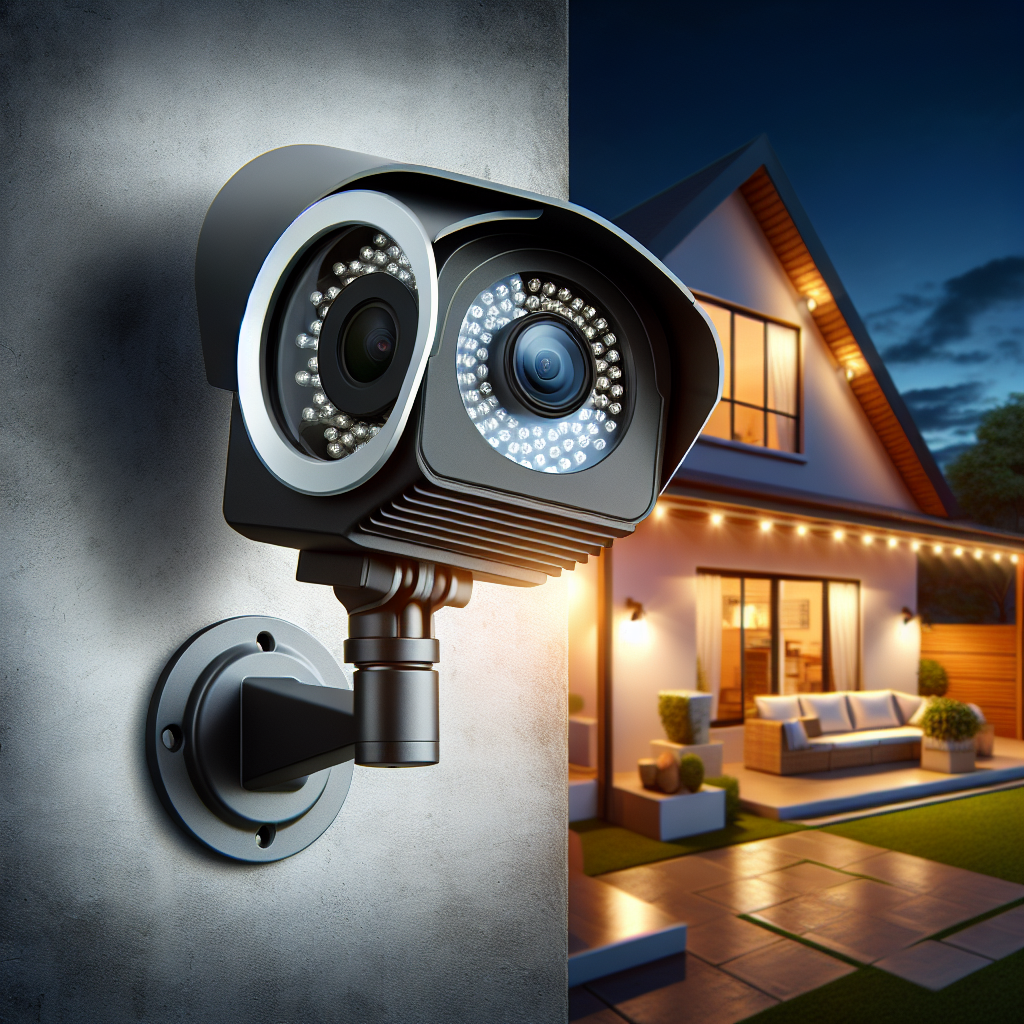
Are you considering installing outdoor security cameras to protect your property? Look no further! This comprehensive guide will provide you with all the necessary information and step-by-step instructions to successfully install outdoor security cameras. From choosing the right camera to finding the perfect location and ensuring proper connectivity, this guide has got you covered. So, whether you’re a first-timer or have some experience with security camera installation, follow along and get ready to enhance the safety and security of your outdoor space.

Choosing the Right Outdoor Security Camera
When it comes to selecting an outdoor security camera, it’s essential to consider its purpose. Are you looking to monitor the front entrance of your home, deter potential intruders, or keep an eye on your backyard? Determining the specific function of the camera will help you narrow down your options and choose the one that suits your needs best.
Additionally, deciding on the camera type is crucial. There are various options available, such as bullet cameras, dome cameras, and PTZ (pan-tilt-zoom) cameras. Bullet cameras are sleek and can be easily mounted on walls or ceilings. Dome cameras provide a discreet appearance and are suitable for surveillance in a wide field of view. PTZ cameras offer the flexibility to pan, tilt, and zoom, allowing you to monitor large areas effectively.
Once you’ve chosen the camera type, it’s time to consider the features you require. Some essential features to look for include high-resolution video capabilities, infrared night vision for clear footage in low-light conditions, weather resistance to withstand the elements, and remote viewing capabilities to access live feeds from your smartphone or computer.
Planning the Camera Placement
Identifying the vulnerable areas around your property is key to planning the camera placement. These could include entry points like windows and doors, driveways, and blind spots. By strategically placing cameras in these areas, you increase the chances of capturing any suspicious activity or preventing potential threats.
Consider the field of view when positioning the cameras. Depending on the area you want to monitor, you may opt for cameras with wide-angle lenses or those with adjustable viewing angles. Ensuring that the camera covers the desired area effectively will maximize the effectiveness of your surveillance system.
Furthermore, evaluating the lighting conditions in the intended camera locations is crucial. Some cameras are equipped with built-in infrared LEDs for night vision, while others rely on external lighting. It’s important to choose cameras that can provide clear images regardless of the lighting conditions in order to capture vital details when monitoring your surroundings.
Powering the Outdoor Security Camera
Determining the most suitable power source for your outdoor security camera is an important consideration for installation. There are three primary options to choose from: wired power source, wireless power source, and solar power source.
Wired power sources are typically used in professional surveillance systems or installations with access to power outlets nearby. These cameras require a direct connection to an electrical source, ensuring a consistent power supply. While wired cameras offer stable performance, their installation may require professional assistance to ensure proper wiring and connections.
Wireless power sources, on the other hand, eliminate the need for physical cables and outlets. These cameras are usually battery-powered and offer easy installation without the hassle of wiring. Keep in mind that wireless cameras may require periodic battery replacements or recharging to maintain their functionality.
For those seeking an eco-friendly option, solar-powered cameras are an excellent choice. These cameras harness the power of the sun to operate, making them energy-efficient and environmentally friendly. Solar-powered cameras are ideal for remote locations where access to electricity may be limited. However, they may require ample sunlight exposure to ensure continuous operation.
Mounting the Outdoor Security Camera
Once you have selected the appropriate camera and determined the power source, it’s time to mount the camera securely. Consider the camera height and angle when positioning it to achieve optimal surveillance coverage.
The height of the camera will depend on the area you wish to monitor. For entry points such as doors, a recommended height is approximately 7 to 8 feet above the ground. This height allows for clear identification of individuals entering and exiting your property. When mounting cameras in larger areas, such as backyards, it’s advisable to position them higher to capture a broader field of view.
Wall mounting is a popular choice for outdoor security cameras. It offers a stable and secure option, allowing you to firmly attach the camera to exterior walls. Ensure that the mounting brackets or hardware used are weather-resistant and capable of withstanding outdoor conditions.
Ceiling mounting is another alternative, especially when monitoring areas with limited wall space. This method allows for a discreet appearance and provides an elevated vantage point. Ensure that the ceiling mount selected is sturdy and compatible with the camera model you are using.

Running the Cables
The type of cable you choose for your outdoor security camera depends on your specific needs. Common cable options include coaxial cables, Ethernet cables, and power cables. Coaxial cables are commonly used in analog camera systems, while Ethernet cables are typically employed for IP camera systems. Power cables are necessary to provide electricity to the cameras.
Calculating the cable length is essential to ensure proper installation. Measure the distance from the camera location to the video recording or monitoring station, taking into account any corners or obstacles the cable needs to navigate. It’s recommended to add a margin of extra footage to accommodate any unforeseen complications during installation.
Concealment and protection of the cables are also important considerations. Exposed cables may not only diminish the aesthetics of your property but also make them susceptible to vandalism or damage. It’s advisable to run cables through conduit pipes or use cable clips and brackets to secure them along walls or ceilings. This will not only protect the cables but also maintain a neat and professional appearance.
Connecting the Camera to a Network
Connecting your outdoor security camera to a network is crucial for remote monitoring and accessing live feeds. There are two primary methods of connecting: wired connection and wireless connection.
Wired connections provide a reliable and stable connection, ensuring uninterrupted video transmission. They require Ethernet cables to establish a direct link between the camera and the network router or video recorder. This method is suitable for locations with stable network infrastructure and where running cables is feasible.
Wireless connections, on the other hand, offer flexibility and ease of installation. Cameras with Wi-Fi connectivity can be easily integrated into your existing network without the need for physical cables. However, it’s important to ensure a strong and secure Wi-Fi signal in the camera’s location to maintain a stable connection and prevent signal interference.
Configuring network settings is the final step in connecting your camera. This includes assigning IP addresses, configuring port forwarding if necessary, and enabling remote access. Consult the camera’s user manual or the manufacturer’s instructions to ensure the proper configuration of network settings for seamless integration into your surveillance system.
Setting Up Video Monitoring
After successfully connecting your outdoor security camera to the network, it’s time to set up video monitoring. Choosing a video management system is essential to effectively manage and monitor your camera feeds. There are various options available, ranging from simple standalone apps to comprehensive surveillance software.
Consider your specific requirements, such as the number of cameras you have and the level of control you desire. Look for features like real-time video streaming, motion detection alerts, and the ability to view multiple camera feeds simultaneously. User-friendly interfaces and intuitive controls can greatly enhance your video monitoring experience.
Setting recording options is another important aspect of video monitoring. Determine whether you prefer continuous recording, scheduled recording, or motion-activated recording. Continuous recording captures footage 24/7 but may require significant storage space. Scheduled recording allows you to specify specific time frames for recording, conserving storage capacity. Motion-activated recording, on the other hand, only records when the camera detects movement, reducing the amount of storage required.
Accessing live feeds remotely is a convenience that many individuals desire. With the advancement of technology, it’s now possible to view camera footage from anywhere using a computer or smartphone. Ensure that the video management system you choose offers remote access capabilities, allowing you to monitor your property even when you’re not physically present.
Configuring Camera Settings
Fine-tuning the camera settings is crucial to ensure optimal performance and accurate monitoring. Adjusting image settings, such as brightness, contrast, and saturation, can enhance the clarity of the footage. Experiment with different settings to find the perfect balance between image quality and storage capacity.
Setting up motion detection is essential for capturing any movement or activity in the camera’s field of view. Configure the sensitivity level of the motion detection feature to avoid false alarms triggered by minor movements like foliage swaying or passing vehicles. Fine-tuning this setting will reduce unnecessary notifications while still alerting you to any significant events.
Configuring alarms and notifications allows you to stay informed of any potential security threats. Enable email or push notifications whenever the camera detects motion or any other specified event. This ensures that you are promptly alerted to any suspicious activity, allowing you to take appropriate action or notify authorities if necessary.
Maintaining the Outdoor Security Camera
To ensure the longevity and optimal performance of your outdoor security camera, regular maintenance is essential. Follow these maintenance tips to keep your camera in top condition:
Regularly clean and dust the camera lens and housing using a soft, lint-free cloth. Accumulated dirt or debris can obstruct the camera’s view and compromise the image quality.
Inspect the camera periodically for any signs of damage or wear and tear. Check for loose connections, cracks, or water damage. Address any issues promptly to prevent further damage and maintain the camera’s functionality.
Updating the firmware and software is crucial for staying up to date with the latest security patches and improvements. Monitor the manufacturer’s website or your camera’s user interface for any available updates and follow the instructions to ensure your camera is running on the latest version.
Ensuring Privacy and Security
Protecting the privacy and security of your outdoor security camera is of utmost importance. Implement the following measures to safeguard your camera system:
Implement password protection for your camera’s user interface. Change the default password to a strong, unique password that cannot be easily guessed. Regularly update your password to maintain security.
Encrypting video feeds can prevent unauthorized access and ensure the privacy of your surveillance footage. Enable encryption protocols supported by your camera and network to protect your data from prying eyes.
Regular security audits are crucial to identify and address any potential vulnerabilities in your camera system. Conduct periodic checks to ensure that all software and firmware are up to date and that your network is secure.
By following these guidelines, you can ensure that your outdoor security camera installation is comprehensive and effective. With a well-chosen camera, strategically placed and correctly mounted, combined with the right power source, cables, and network connection, you can provide yourself with a reliable surveillance system to keep your property safe and secure. Remember to regularly maintain and update your camera, while prioritizing privacy and security, to ensure continued peace of mind.

